Nodes
Each node in the graph represents an entity. There are 5 basic entity types:
Files. Represented as a rectangular shape with a representation of the file inside.
Domains.
Represented using the domain favicon, if available.
Urls. Represented using the icon below.
IP Addresses. Represented using the flag for its country. If we can’t detect the country from which the IP address is from, we’ll represent it as a black rectangle.
Relationship nodes. Represented with a circle containing a representative icon inside.
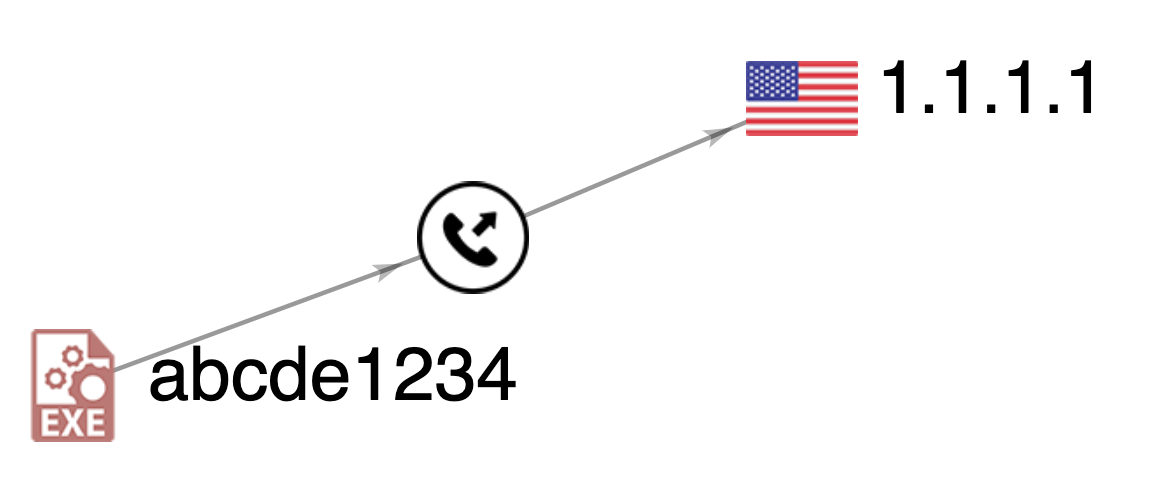
The example below is a connection of contacted ip between hash abcde1234 and ip address 1.1.1.1
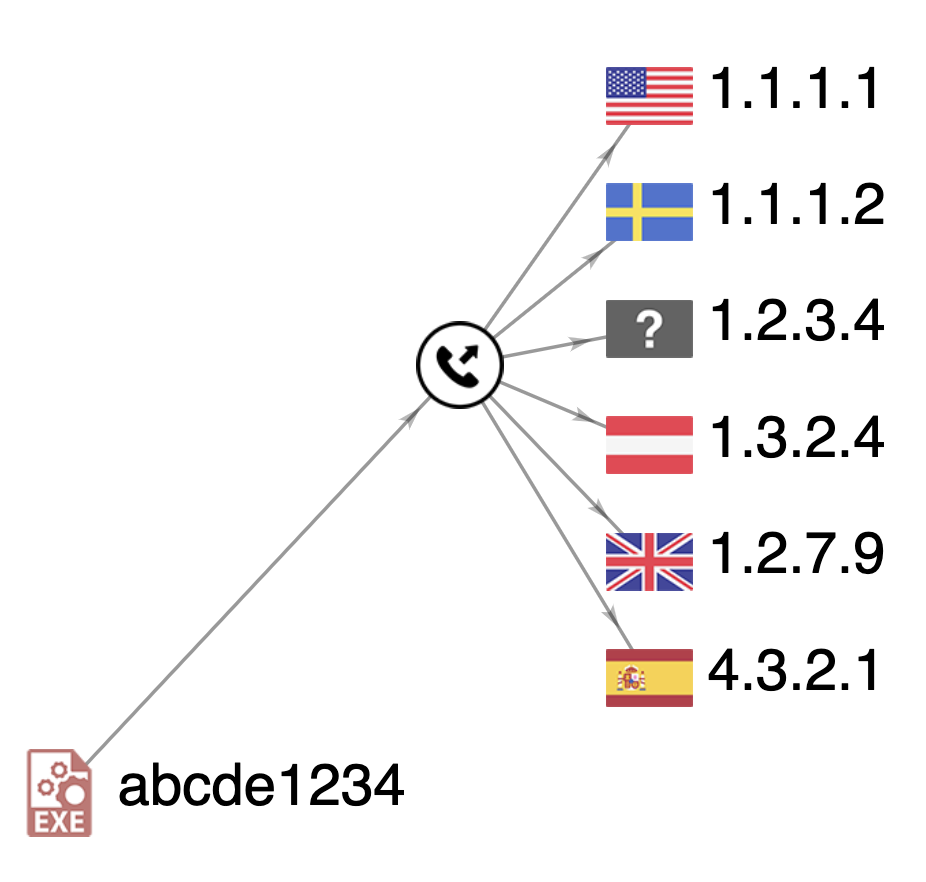
More than one ip address was related to abcde1234 file.
Advanced node types
In addition to the entity node types, VT Graph also offers these some advanced node types you can use to enrich your investigation with:
Actor
Department
Email
Victim
Device
Port
Service
SSL Certificate
Wallet
These nodes are only available for customers with the Private Graph add on. Contact our team if you are interested in our premium features, here.
Color coding of nodes and edges
VT Graph use color coding to represent extra information about nodes and their connections.
Google Threat Intelligence contains verdicts for files and urls. Graph represents files and urls that have 1 or more detections using red icons. Otherwise, the color black is used.
0 detections
1+ detections
selected
can be expanded
Nodes that have not been expanded yet are represented with a black circle in top right corner. Double clicking on unexpanded nodes will automatically trigger an auto-expansion on that node.
Selected nodes are represented using blue circle. The edges of their direct connections are also represented in blue.
VT Graph uses a kind of node to represent relationships. Arrow edges are used to represent the direction of the relationship.
Actions
After a node or relationship is selected, different actions can be performed. Furthermore, bulk actions can be performed over multiple nodes when selected.
Node
Once a node is selected, the left panel will show the relevant information related to it. From there, you will be able to expand relationships, find detection verdicts, comments, etc.
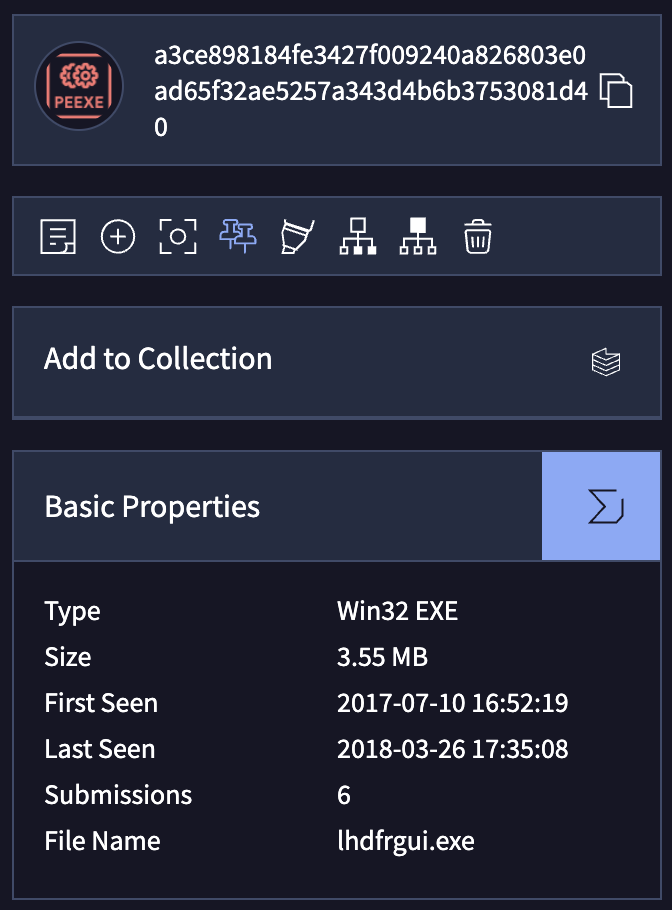
There are actions that can be performed over the selected node. Doing right click over a node will show a contextual menu with the same actions that can be performed from the left panel.
Edit Label
Allows to edit the node label. To delete the label, just leave it empty. By default, the initial will be labeled with the file name if we have it, “Root node” otherwise. For urls, domains and ip, we’ll use the display value as label.
Add new node
Opens the panel which guides you to add a new connected node to the selected node. Links connecting nodes that have been manually added are represented with a dotted line.
Center node
Center the node in the screen
Pin node / Remove pin
Removes the animation or gravity from the graph. By default, the nodes can be dragged but they'll return to a stable graph representation after the click.
When we pin the node, it will stick to the position where we drag it. If we want the node to recover their default behaviour we can "remove pin" from the node.
Highlight
Big graphs contains a lot of nodes and edges and they are complicated to understand. To help with this problem we can highlight a node, this will hide the nodes that are not directly connected to the highlighted node. You can remove the highlight by clicking somewhere else in the graph.
Select children
Select the list of nodes that are children of the selected node
Select parents
Select the list of nodes that are parents of the selected node
Delete node
Deletes the selected nodes and its edges.
Full expansion
Expands by all the available expansions for the selected node. It performs the same action as clicking individually in each expansion in the expansion section. By default the first node in the investigation will be expanded using all their available expansions.
Open public report
Opens the Google Threat Intelligence public report for the selected node.
Relationship node
Relationship nodes are special as they are represented as a single node that group other nodes. Because that, it merges actions from both single and multiple node selection.
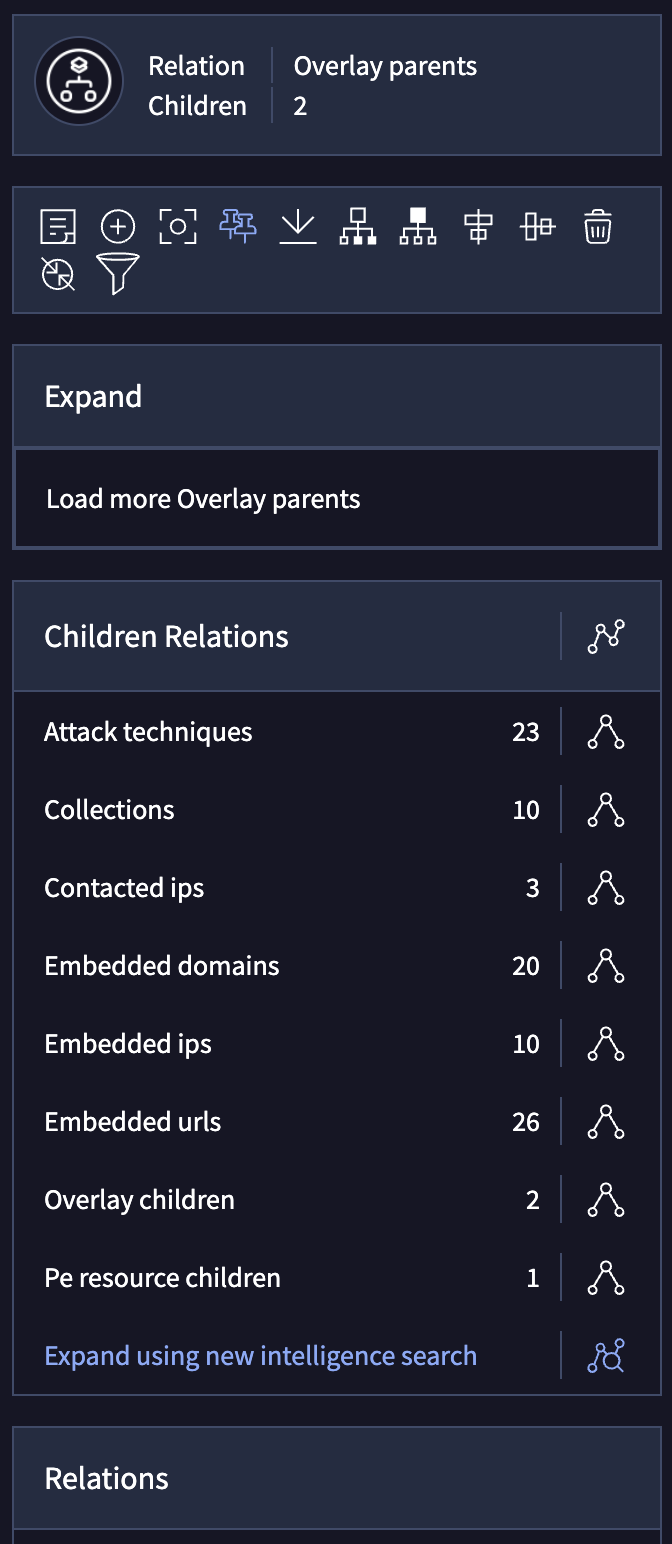
Edit Label
Allows to edit the node label. To delete the label, just leave it empty. By default, the initial will be labeled with the file name if we have it, “Root node” otherwise. For urls, domains and ip, we’ll use the display value as label.
Add connected node
Opens the panel which guides you to add a new connected node to the selected node. Links connecting nodes that have been manually added are represented with a dotted line.
Center node
Center the node in the screen
Pin node / Unpin node
Removes the animation or gravity from the graph. By default, the nodes can be dragged but they'll return to a stable graph representation after the click.
When we pin the node, it will stick to the position where we drag it. If we want the node to recover their default behaviour we can "remove pin" from the node.
Download CSV
Opens a menu with all the entity ids grouped by the selected relationship node.
Select children
Select the list of nodes that are children of the selected node
Select parents
Select the list of nodes that are parents of the selected node
Align children vertically
Align the children of the relationship node vertically
Align children horizontally
Align the children of the relationship node horizontally
Delete
Deletes the selected nodes and its edges.
Calculate commonalities
Find common features and patterns for the children nodes of the relationship node. The results will be shown in the left panel. More info related to that process below.
Multiple node selection
Multiple nodes can be selected at the same time. There are two ways to select multiple nodes.
The first one is doing click at the same time you press the shift key on your keyboard. The left panel will be updated with the information related to the selection.
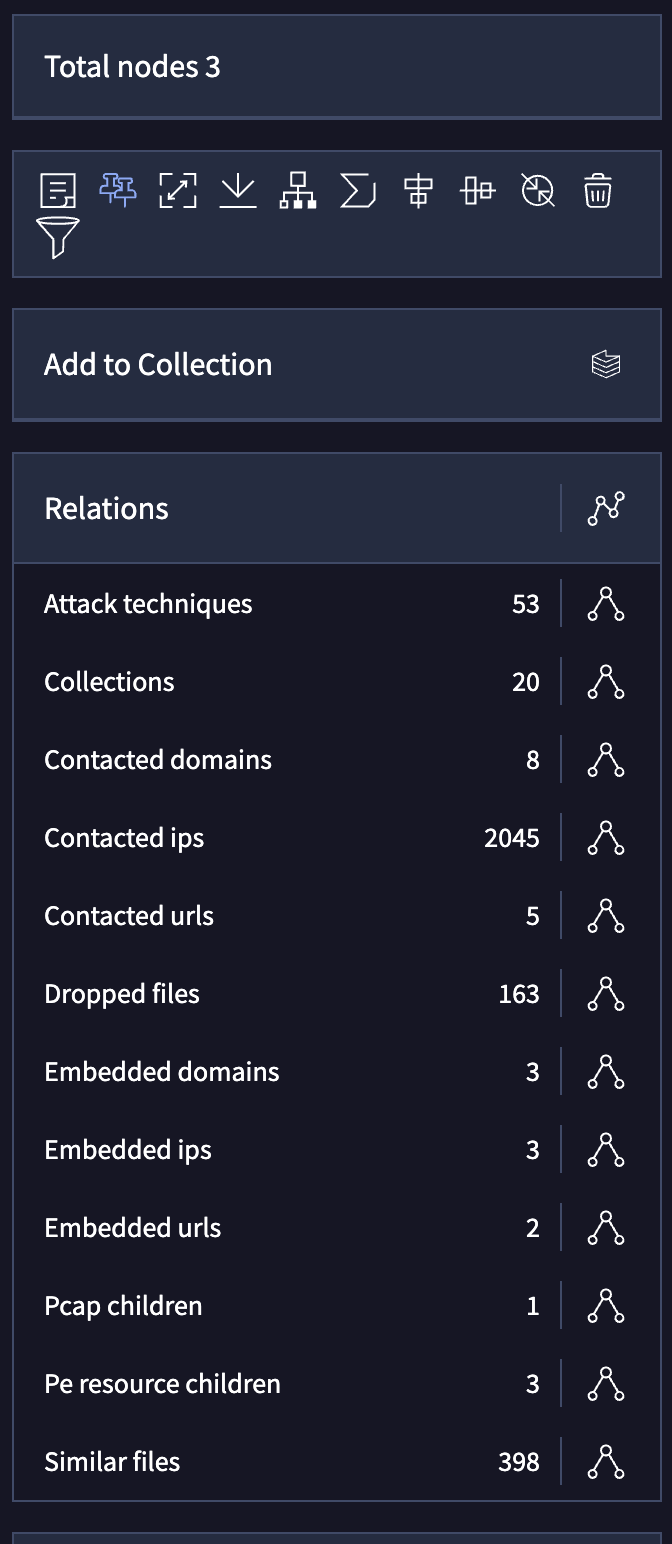
You can also select multiple nodes by pressing shift and click-dragging in the canvas. The same way you are used to select multiple files in any operating system.
These are the actions available:
Edit label
Allows to edit the node label. To delete the label, just leave it empty. By default, the initial will be labeled with the file name if we have it, “Root node” otherwise. For urls, domains and ip, we’ll use the display value as label.
Pin node / Remove pin
Removes the animation or gravity from the graph. By default, the nodes can be dragged but they'll return to a stable graph representation after the click.
When we pin the node, it will stick to the position where we drag it. If we want the node to recover their default behaviour we can "remove pin" from the node.
Center node
Center the selected nodes in the screen
Download CSV
Opens a menu with all the entity ids for the nodes selected.
Align Children Vertically
Align the selected nodes vertically
Align Children Horizontally
Align the selected nodes horizontally
Delete node
Deletes the selected nodes and its edges.
Full expansion
Expands by all the available expansions for one of the selected nodes. It performs the same action as clicking individually in each expansion in the expansion section. By default the first node in the investigation will be expanded using all their available expansions.
Calculate commonalities
Find common features and patterns for the selected nodes. The results will be shown in the left panel. More info related to that process below.
Submissions
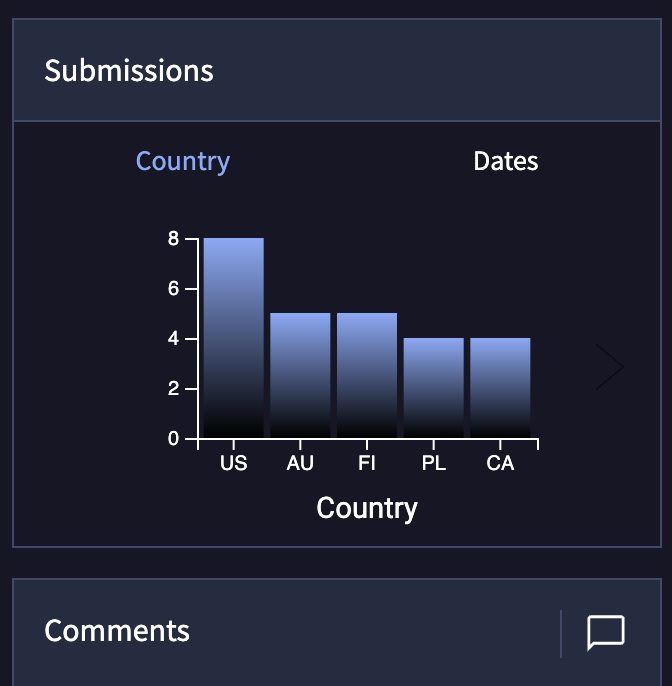
The submission box gives you a graphical representation of the submissions made for the selected file, grouped by country or by upload date.
Updated 5 months ago
